Fire Testing Deformation Measurement
PDF
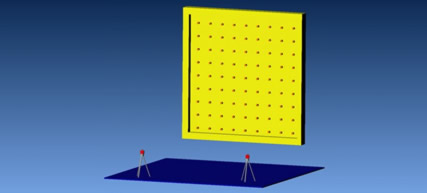
The system simplifies dynamic deformation measurements of large objects that range from two meters up to a
dozen meters in size. The object shown in Fig. 2 has a size of 6 x 6 meters. The marked measuring points are
displayed in orange.
It is perfectly suited for vertical fire testing applications due to its no-touch measurement, robustness
against smoke and precision. As a result it is a major benefit for work safety.
The system has been in constant use for years at several fire testing labs in Europe.
Features
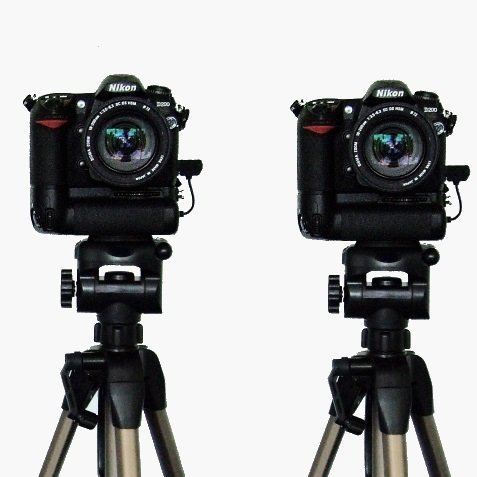
- Two high-resolution DSLR or video cameras
- Resolution between 12 and 24 megapixels
- Measuring frequencies up to 0.1 Hz
- Free positioning of the cameras in front of the measuring object
- Unlimited measurement time
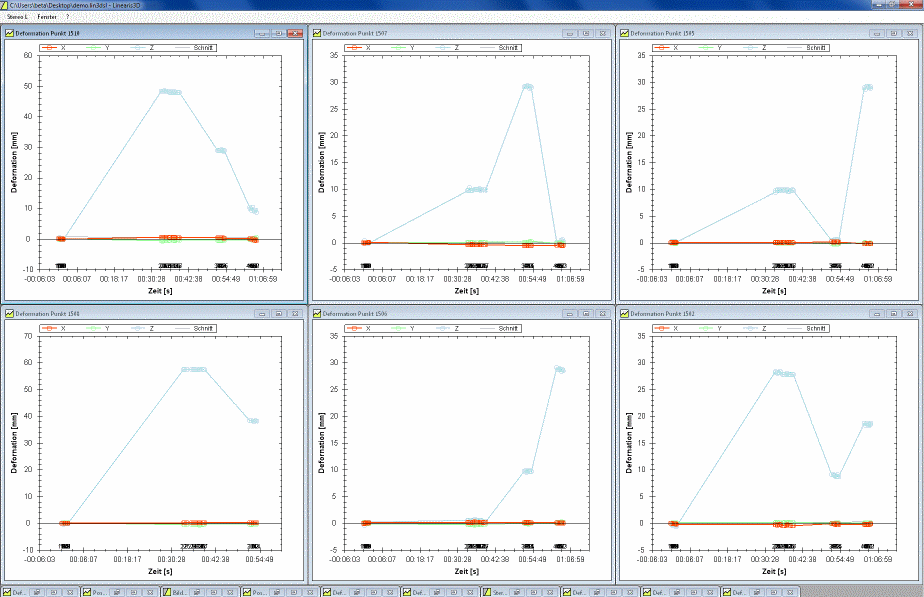
- Live-evaluation of results
- Accuracy in the order of a few tenths of millimeters
- Completely wireless configuration (WLAN, battery power) possible
- Fully automatable measurement process
Environment
- Standard room lighting is sufficient
- Smoke and dust do not affect the measurement
- Bumps and shocks during measurement are compensated
Measurement procedure
The cameras can be freely positioned in front of the target. Depending on the
application, either
a mobile calibration device or calibration markers may be used for camera orientation. The points to be
measured are identified
with self-adhesive markers.
System elements
- Two high-resolution digital cameras
- Notebook equipped with analysis software
- Markers
- Tripods
- Transport case
- WLAN transmitters (optional)


