Photogrammetry Professional PDF
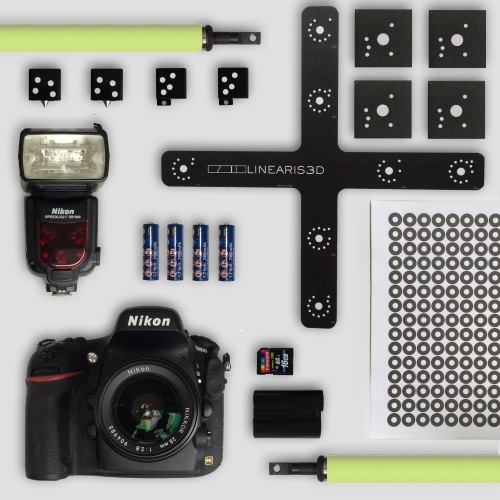
Linearis3D Photogrammetry is a portable 3D coordinate measuring solution. Precise 3D positions for an arbitrary number of marked points are computed using digital pictures. Some advantages of photogrammetry are:- High precision for objects up to 20m and more
- Insensitive against shocks and vibrations
- Robust for a large range of temperatures
- Easy to carry (system weight ca. 10kg)
- Usable in constrained spaces (e.g. car interiors)
- Usable in bright daylight as well as in near darkness
- Deformation measurements in climate testing or validation of FEM calculations
- Quality assurance of large objects
- Reverse engineering
Comparison of features
| Precision VDI 2634 (1m 3) | 0.03mm* |
|---|---|
| Camera | Professional DSLR with 24mm lens |
| Adapters | yes |
| Deformations | optional |
| CAD comparison | optional |
| Parametric geometry | yes |
| Extended Parametric Geometry | yes |
| Scale | Carbon or Invar |
| Support | on-site/phone |
| Quality assessment | extended |
| Price without taxes | please call |
Subject to change without prior notice.
Precision
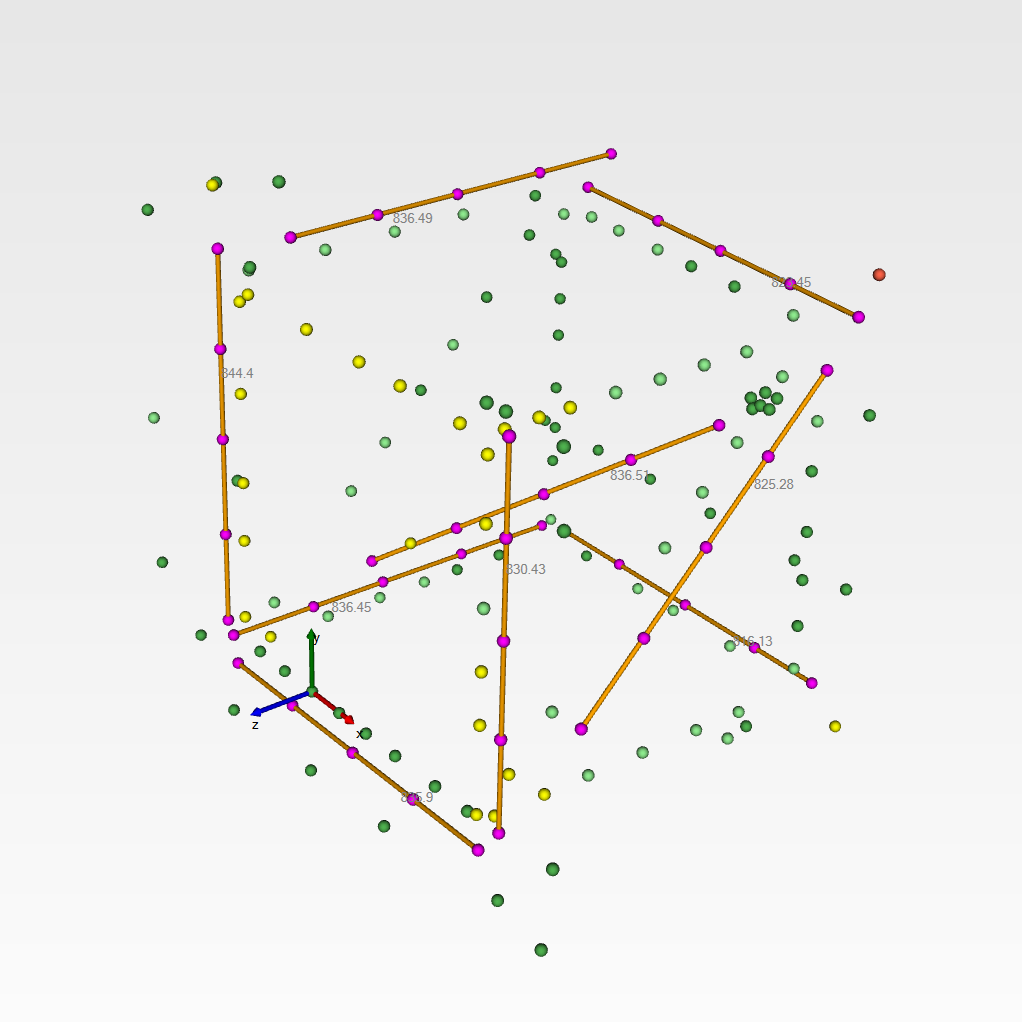
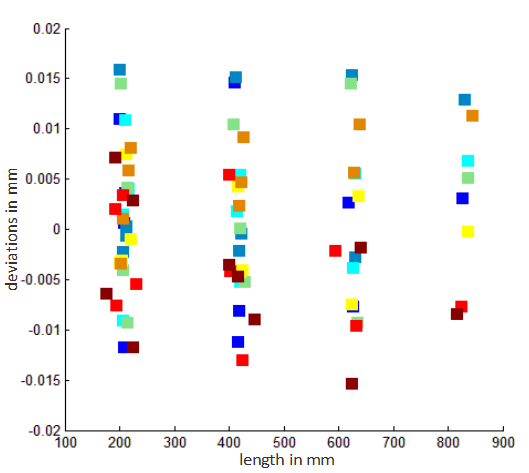
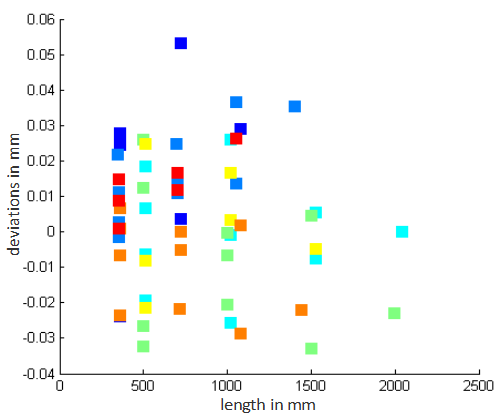
Precision is defined using the German guideline VDI 2634. This guideline defines a cube as shown in Fig. 4 with seven scales. Each scale has four or five points whose distances are known with superior accuracy. The precision is defined by comparing the known distances with the distances computed by the photogrammetry system. Fig. 5 shows the length deviations for a 1m 3 cube. Fig. 6 shows results for 2m×2m×1.5m cube. The x-axes show the distances in mm, the y-axes the deviations in mm. Different colors indicate the deviations for the different scales. Results were obtained using the Linearis3D Professional system.Precision is influenced among others by object size, object visibility, camera, camera positions, number of photos, software, user as well as length and number of scales. The configuration of the cube according to VDI 2634 is optimal for photogrammetric precision. Precision for other measurement configurations can be worse. Especially situations where measuring points can only be seen from a limited angle may produce greater deviations. For more information on precision of photogrammetric systems you can refer to Luhman, p.111 (available only in German).
Measuring procedure
- Marking: The points to be measured on the object are marked with self-adhesive or magnetic circular markers. The centers of the markers will be measured by the photogrammetry system with very high precision. Only marked points can be evaluated.
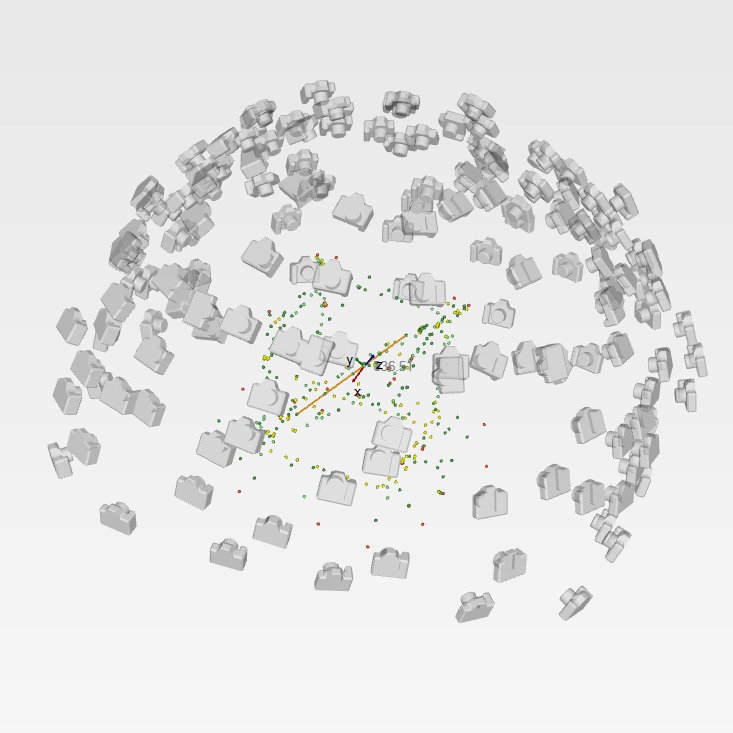
- Taking pictures: Depending on the size and the complexity of the object twenty to several hundred photos are taken from different perspectives. A measurement point should be visible on as many photos as possible.
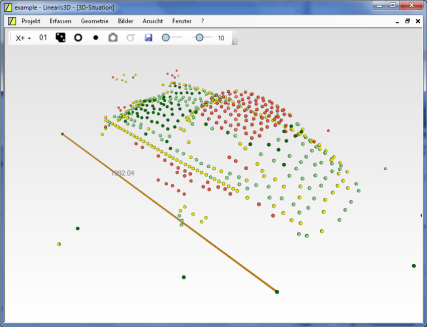
- Evaluation: Using sophisticated image processing algorithms the marked measuring points are identified in the images. The
least squares bundle adjustment used for the evaluation is the "gold standard" for high precision applications.
