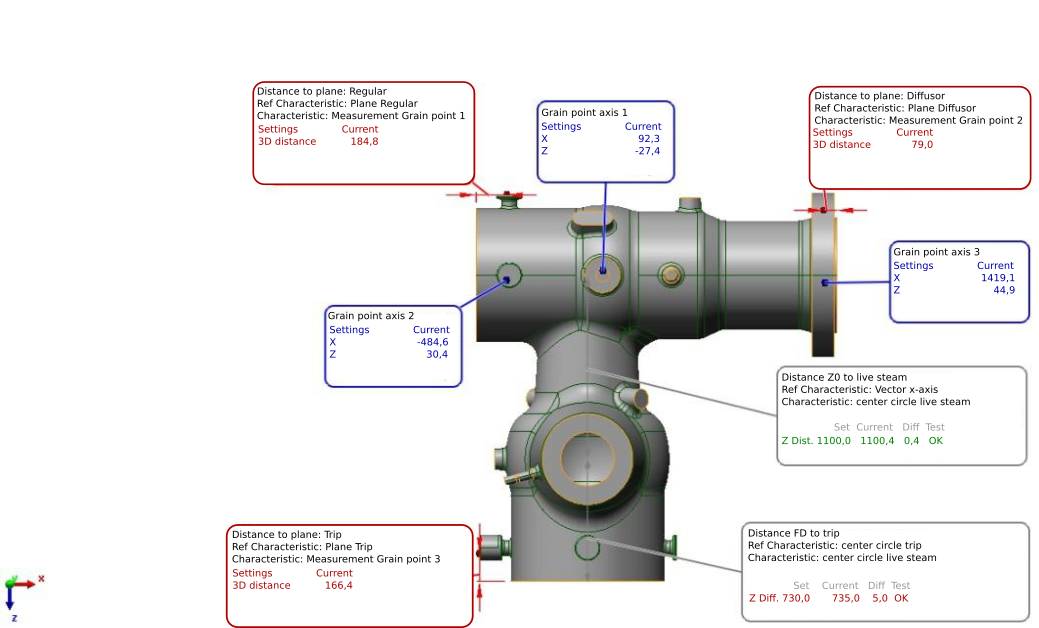
Valve housing
Introduction
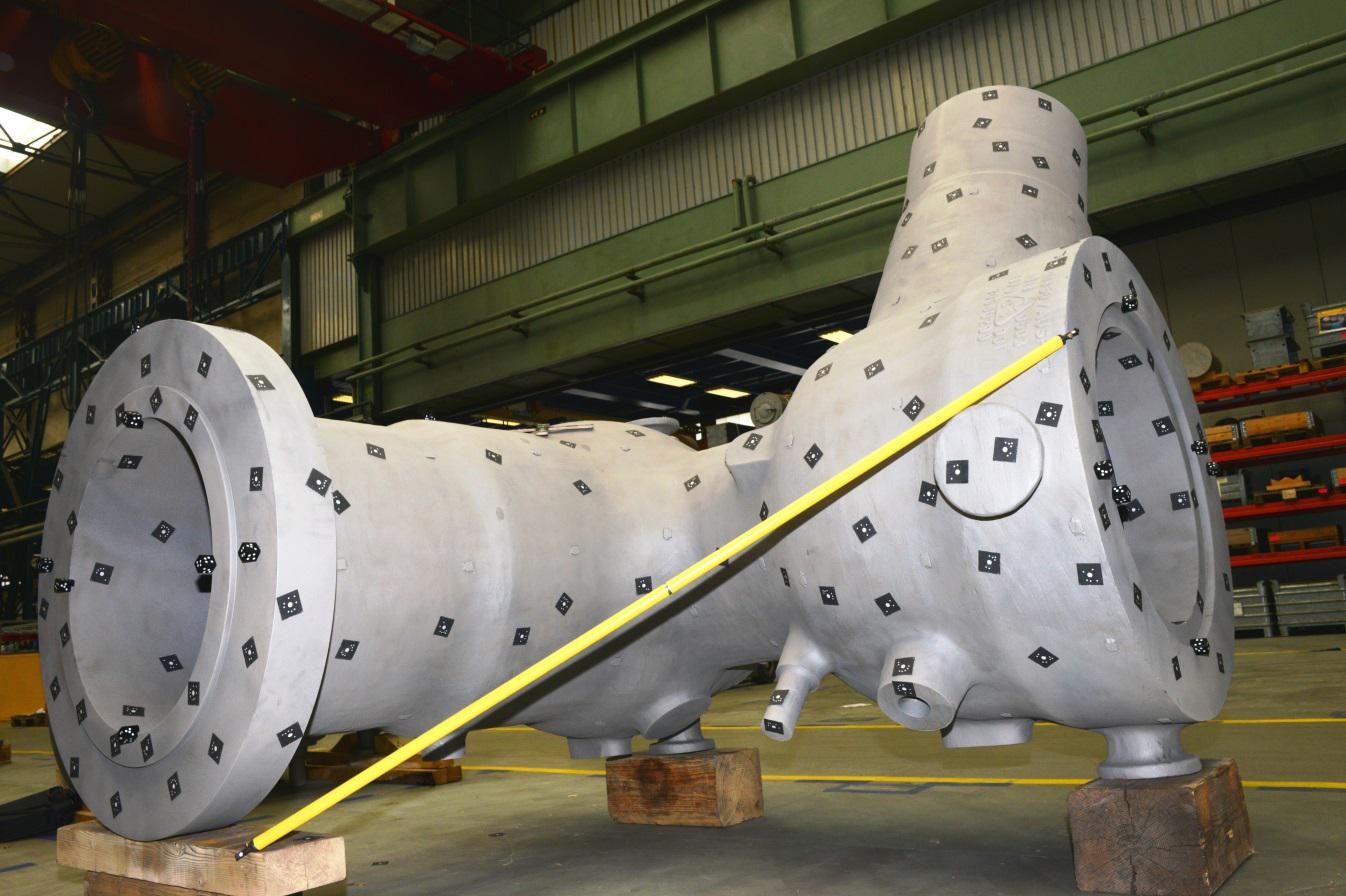
MĂĽlheim is an important location for the international power plant business of Siemens AG. Apart from gas and steam turbine engineering the production of turbine parts plays an important role at the site. The housings of modern turbines reach dimensions of up to 5m x 5m x 3m and weigh dozens of tons. The 3D measurement of these components is of crucial importance for a streamlined manufacturing and assembly process.Measurement task
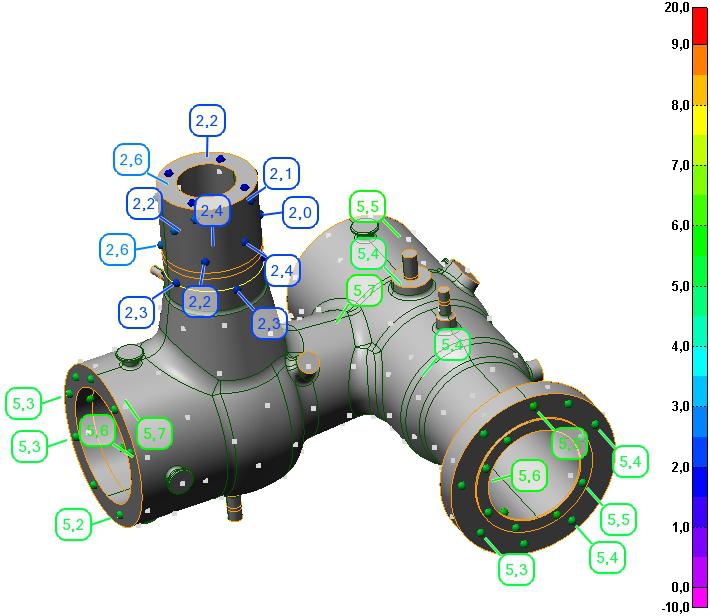
The objective is the geometric measurement of the supplied component to determine the machining allowance of the surfaces to be machined and to be able to align the part with the CNC machine. The objective for the use of close-range photogrammetry was to speed up the existing process and provide more comprehensive data on the measured part.Initial situation
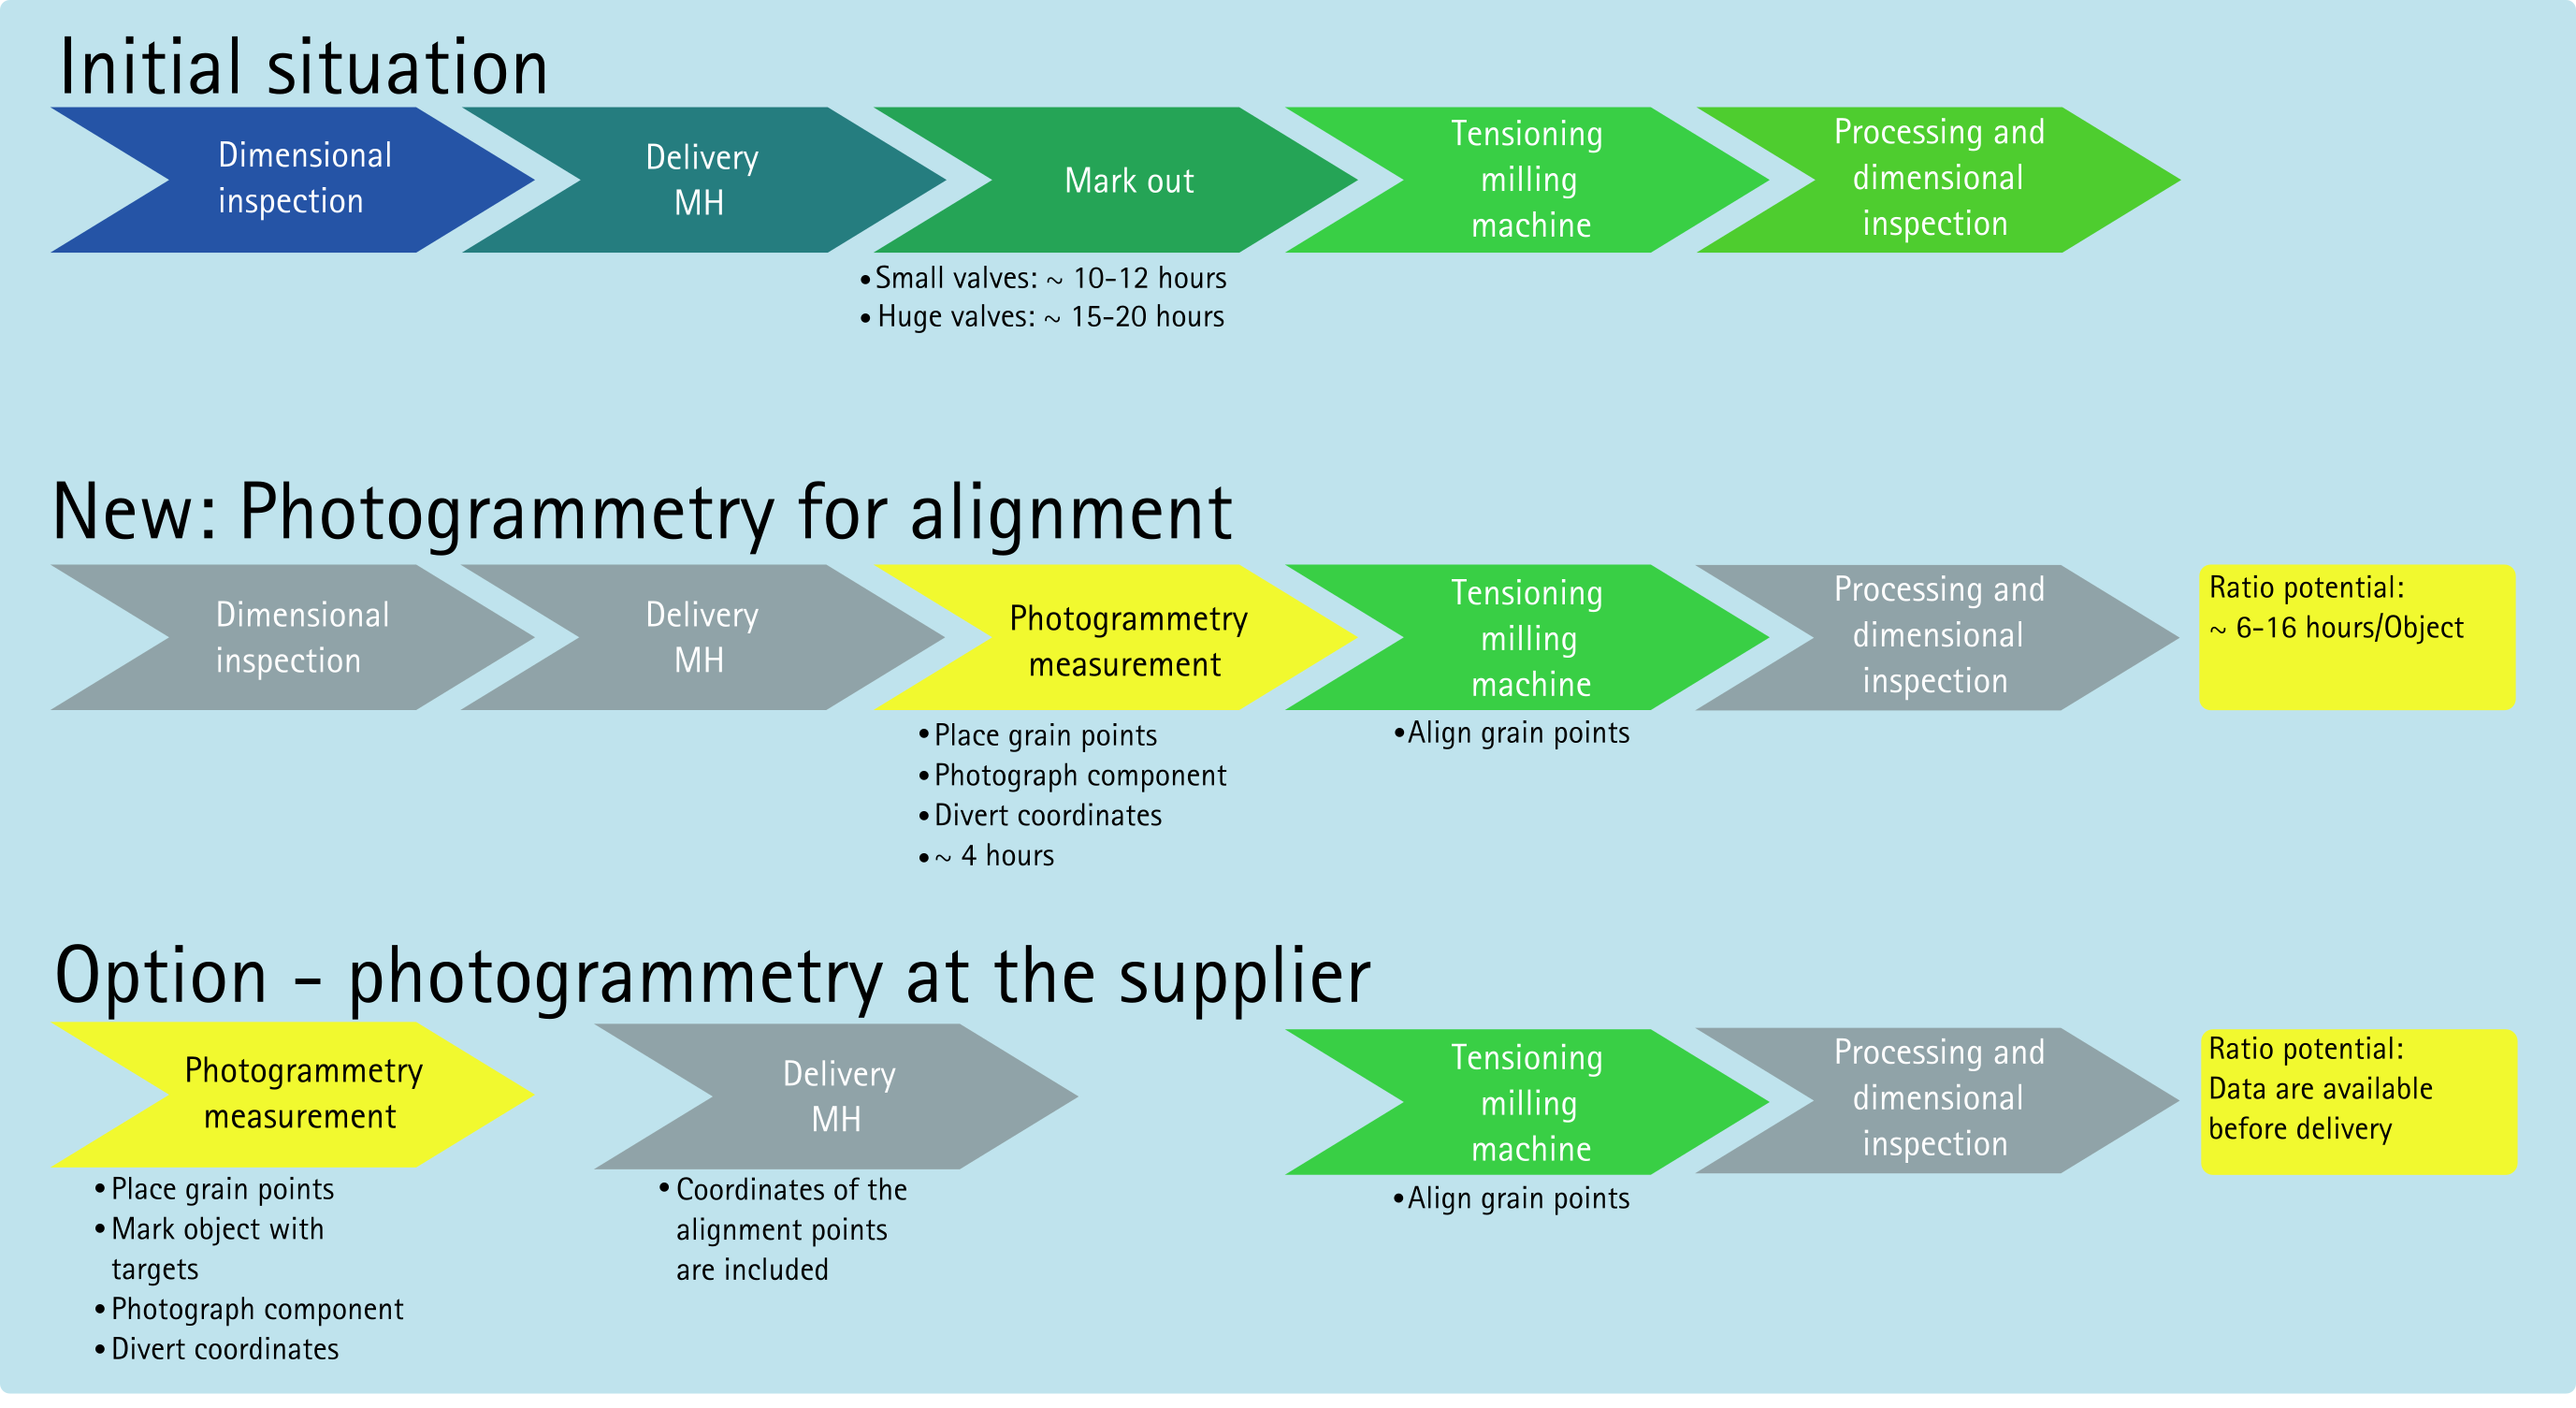
In the past the parts were marked out conventionally. The component had to be measured on the marking plate with a measuring tape, plumb and goniometer and then aligned in order to subsequently provide the markings for the processing machine. A tried and tested method for decades, but also very time-intensive.New: Photogrammetry for alignment
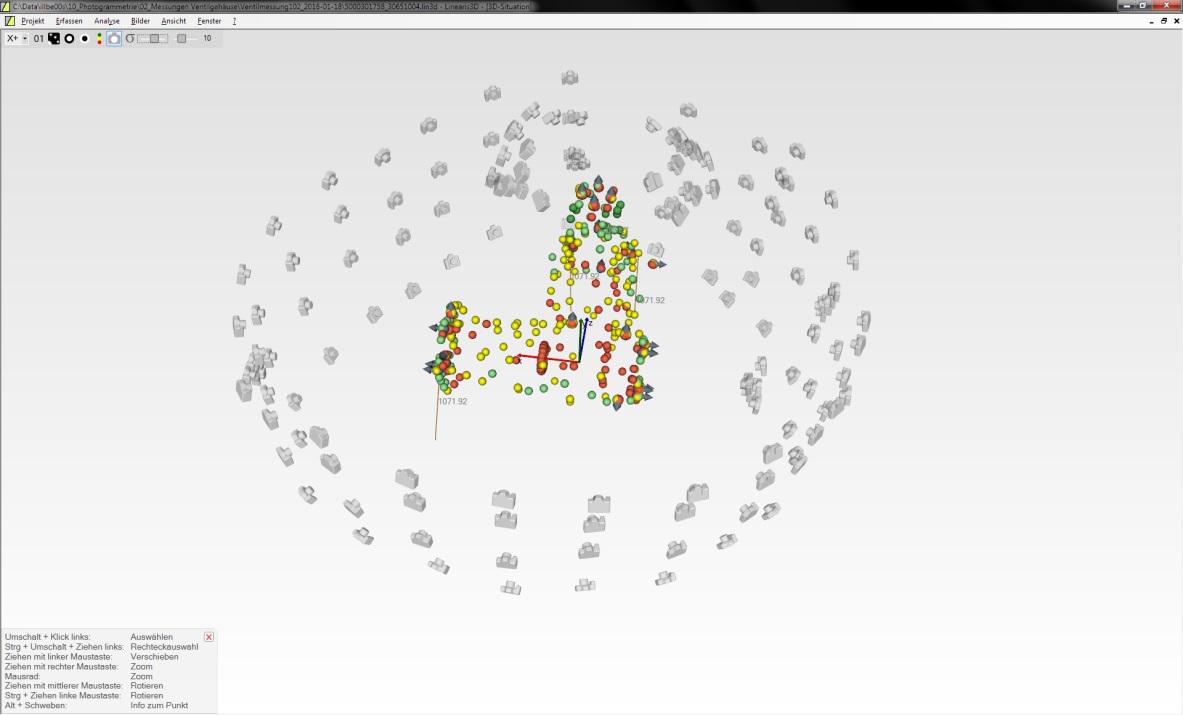
Photogrammetry now accelerates this process. Magnetic photogrammetry markers mark the relevant measurement points. Adapter cubes indicate flanges and edges with high accuracy. A quality assurance specialist walks around the component with a DSLR camera to capture the scene from all angles. The Linearis3D photogrammetry software detects the adhesive or magnetic markers in the images. The coded patterns identify the different markers. The 3D coordinates of all points are then computed and stored for further evaluation. The computation process is fully automatic and requires only minimal user interaction. Data exchange between the different systems works seamlessly after a few iterations.Results and benefits
In addition to the alignment of the components, the generated point clouds have an additional use. These include, e.g., the planning of the clamping devices or the measurement of wall thicknesses in certain areas. Initial tests have shown that the 3D data can also be used for the CAM interface. The machining toolpaths can be planned based on the real geometry resulting in more efficient machining.The overall time required for measurement was reduced by up to 70%, while the data quality was increased at the same time.
The Linearis3D photogrammetry system has been adapted at other Siemens locations, too. We would like to thank Siemens AG for the support and the trust in our systems.
